A miter saw is often a carpenter’s best friend in the matter of cross-cutting wood, metal, hardboard, etc. Apart from carpenters, plumbers and electricians also use miter saws to install or repair sewer pipes, drainage fixtures, electric insulators, etc.
But can you cut copper pipes with a miter saw?
The answer is yes. Copper is a comparatively soft metal. Refrigerant lines, internal air conditioning systems, and geyser plumbing systems require copper tubing for corrosion resistance and proper heat flux. And miter saws can easily saw through copper pipes with the help of the right metal blades.
I’m here today to clear all the confusion and stigmas related to cutting copper pipes with a miter saw. Granted that, miter saws aren’t the absolute best saws to cut copper pipes. But hey, when operated appropriately, they work just as well, if not better. And today’s article will teach you how to achieve just that.
How To Cut Copper Pipes With A Miter Saw?
Cutting copper pipes with a miter saw involves many of the same steps as cutting ABS pipes with a miter saw. However, the former material is metal, while the latter is plastic. Therefore, there are a few additional steps and provisions.
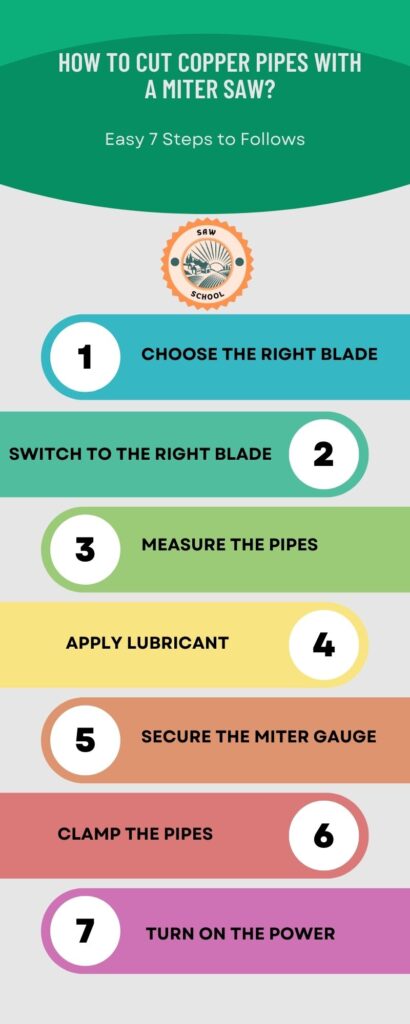
Here’s a detailed step-by-step guide to help you figure out the entire process in the simplest possible way –
Step 1: Choose The Right Blade
There are so many different types of blades for saws. Hence, it goes without saying, you can’t use the same miter saw blade that you use for normal woodworking projects to cut copper pipes. Attempting to cut through metal with such fragile blades won’t provide desirable outcomes.
For cutting metal, it’s best to use compound miter blades. Again, compound blades aren’t actually the best tools to cut through copper pipes. But if you don’t have the proper tools and saws, such as hacksaws, pipe cutters, etc., at the moment, then you can resort to compound blades as a fallback option.
Here are the factors that you should consider while choosing the perfect miter circular blade for cutting copper pipes –
Material
Did you know that miter saws can have wooden blades too? They’re not used as much, but they’re not uncommon either.
To cut metal, however, there are next to zero alternatives to compound metal blades. The reforged steel body with carbide teeth – is a classic combo for copper pipes.
The sharp carbide teeth help to penetrate through the initial surface. And the reforged body keeps the blade from getting disfigured throughout the procedure.
Size
Larger blades are generally better for cutting metal pipes. That is because compact blades can’t often project the required amount of force needed to cut through copper.
Choose a 10-inch or up-sized blade for cutting copper pipes with miter saws. I prefer the 12-inch ones, as it feels the most stable and easily controllable as well.
Teeth
You don’t need a high TPI number for copper pipes. In fact, too many teeth will actually increase the chances of blade disfigurement during the metal-cutting process.
I like to maintain the 1:4 inch-teeth ratio for my blades if I’m looking to cut copper pipes. It’s a balanced ratio to retain both penetration strength and blade integrity while cutting metal.
Step 2: Switch To The Right Blade
After deciding on the right blade, it’s time to change the current blade and install the new one. You can follow this guide to replace the circular blade on a miter saw.
I personally love the No products found. in these cases. It’s got carbide-tipped edges, which is great for cutting soft metals like copper, alloy steel, etc.
Furthermore, it’s equipped with built-in copper slugs which help to eliminate the annoying vibrations while sawing. Particularly this specific feature made it one of my favorites.
Step 3: Measure The Pipes
You can look through my write-up on cutting ABS pipes with miter saws to get a detailed overview of this step. In the aforementioned article, I’ve explained kerf really intricately.
The kerf doesn’t play that much of a big role in cutting down copper. Because usually with copper pipes, the cross-cuts aren’t that wide, i.e., the blade itself is pretty sleek in nature.
Hence, the kerf measurements become pretty non-existent. You can simply measure the length and width of the pipe as you’d normally do, and then mark the cutting sections directly.
Step 4: Apply Lubricant
You don’t always have to follow this step. But it’s better to apply a little bit of mechanical lubricant on the blade before proceeding with the metal-cutting. And don’t worry – applying the lubricant won’t make your blade slippery.
Well, unless you use too much of it, that is.
In general, the lube helps to generate and boost the friction between the teeth and the metal when the blade saws through. Just use a brush to lightly cover the blade perimeter, and wipe away the excess if needed. It shouldn’t be dripping wet.
Step 5: Secure The Miter Gauge
You’ll seldom need to cut copper pipes at an angle other than 90. So, calibrate the miter gauge to redirect the blade, fence, and gauge on the 90° mark carefully.
Remember to tighten the bolts so that the gauge doesn’t show false readings later accidentally. If you want a different angle, adjust the meter gauge accordingly alongside the fence.
Step 6: Clamp The Pipes
To cut metal like copper, steel, etc., professionals recommend using sliding miter saws. These saws will give you way more control while cutting through the metallic surfaces.
If you’re using sliding miter saws, then you should clamp or fasten down the pipes appropriately.
Many miter saws come with readymade support boards. Here, you can clamp down the pipes so that they won’t become unstable during the procedure.
Experienced sawists also attempt to hold down the pipes by themselves, but it’s just not as safe with metal pipes. Hence, it’s better to fasten down the pipes with proper hooks directly.
Also, if you don’t have integrated clamp jaws, you could get a provisional saw stand instead. Although, note that these stands won’t work if you’re looking to cut really small pipes. The saw stand helps to keep long copper pipes upright, i.e., they work as an outward extension.
Step 7: Turn On The Power
Recheck all the readings and instrumental positioning and adjust, if needed, before turning the power on. Wear protective gloves, glasses, ear covers, etc., and slowly, very precisely, bring the blade down to the marked spot.
Don’t push down the blade forcefully. If the blade’s sharp and sturdy enough, it’ll automatically go through the metal, cutting it like soft butter. After it has gone all the way through, slowly bring it back up and turn off the power. Remember not to place your hand anywhere near the circular blade until it comes to a complete stop.
Cutting Copper Pipes With Miter Saws: Precautions
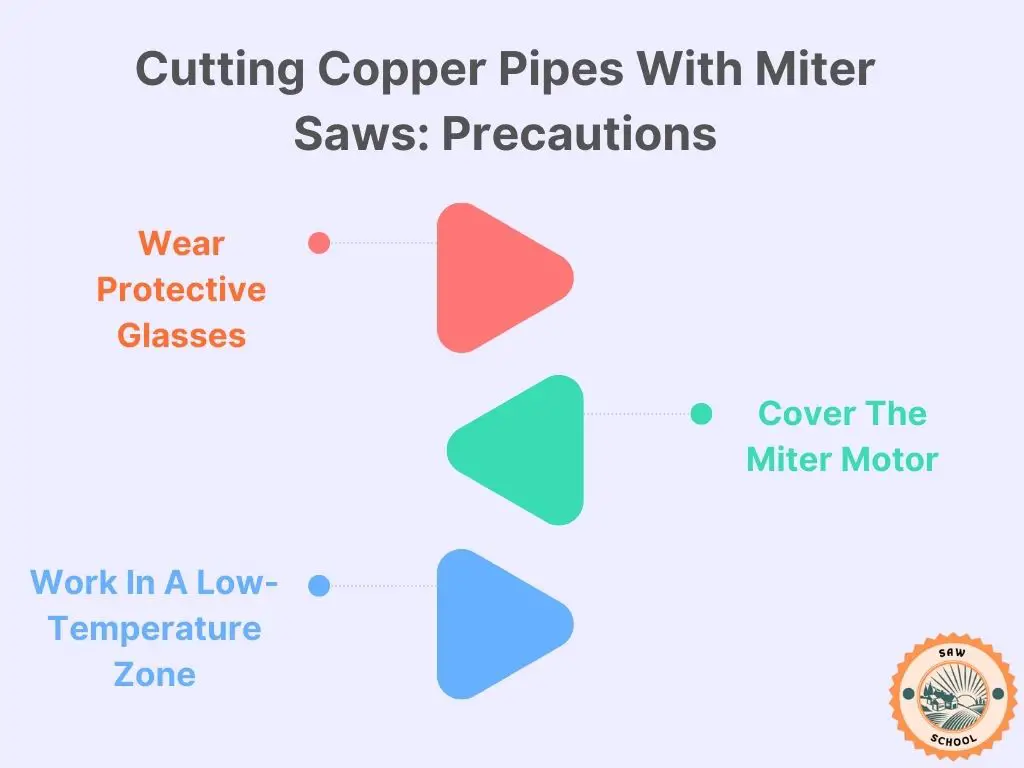
Whether you choose to focus on the advantages or disadvantages, you can’t compromise on precautions either way. Here are a few must-follow safety tips before cutting copper pipes or similar metallic pipes with miter saws –
Wear Protective Glasses
Miter saws aren’t exactly the best saws for copper pipes. When the blade powers through the pipe, it creates a whole lot of speedy copper particles that get scattered everywhere.
The sheer speed alone is enough to cut your skin or even enter some of the orifices through soft openings. Hence, if you’re going to cut copper pipes with a miter saw, you should invest in high-quality protective glasses, masks, and aprons.
Cover The Miter Motor
The copper flecks can fly towards the motor if it stays uncovered during the sawing procedure. They can then get accumulated and interrupt the internal mechanisms.
So, cover the motor properly before working on copper pipes. Everything other than the handle, blade, fence, and miter gauge should stay covered to prevent potential infiltration.
Work In A Low-Temperature Zone
Since you’re working with compound metal blades and pipes, it’s best to work in a low-temperature zone. Additionally, make sure the room’s not too crowded. Proper airflow and heat insulation is a must for metal-cutting projects.
Final Thoughts
So, can you cut copper pipes with a miter saw? You absolutely can if you don’t have a better option lying around. The trick to cutting soft metal pipes with miter saws is that – you can’t treat it like a normal cross-cutting session.
Focus on cutting through the pipe first. And then, you can focus on smoothening the edges. If the pipe isn’t all that lengthy, it’ll be hard to control it during the power sawing. Hence, unless you’re a pro, don’t try to get rid of the burrs right after you make the initial incision.
Continue use of the miter saw blade on metal pipes will ruin the sharpness of the blade as well. So, take it slow and focus on getting thorough and straight cuts. Afterward, you can use other tools to get rid of the chips throughout the incision.
